Tool selection guide
Choose the editor for the job, not the longest feature list.
A good photo editor is the one that matches the change you need, the source file you have, and the amount of control the result requires.
A focused option when one short text region is wrong and the rest of the finished image should stay intact.
Real source, actual output
A CC0 source photograph changed from OPEN to CLOSED with ImageTextEdit.
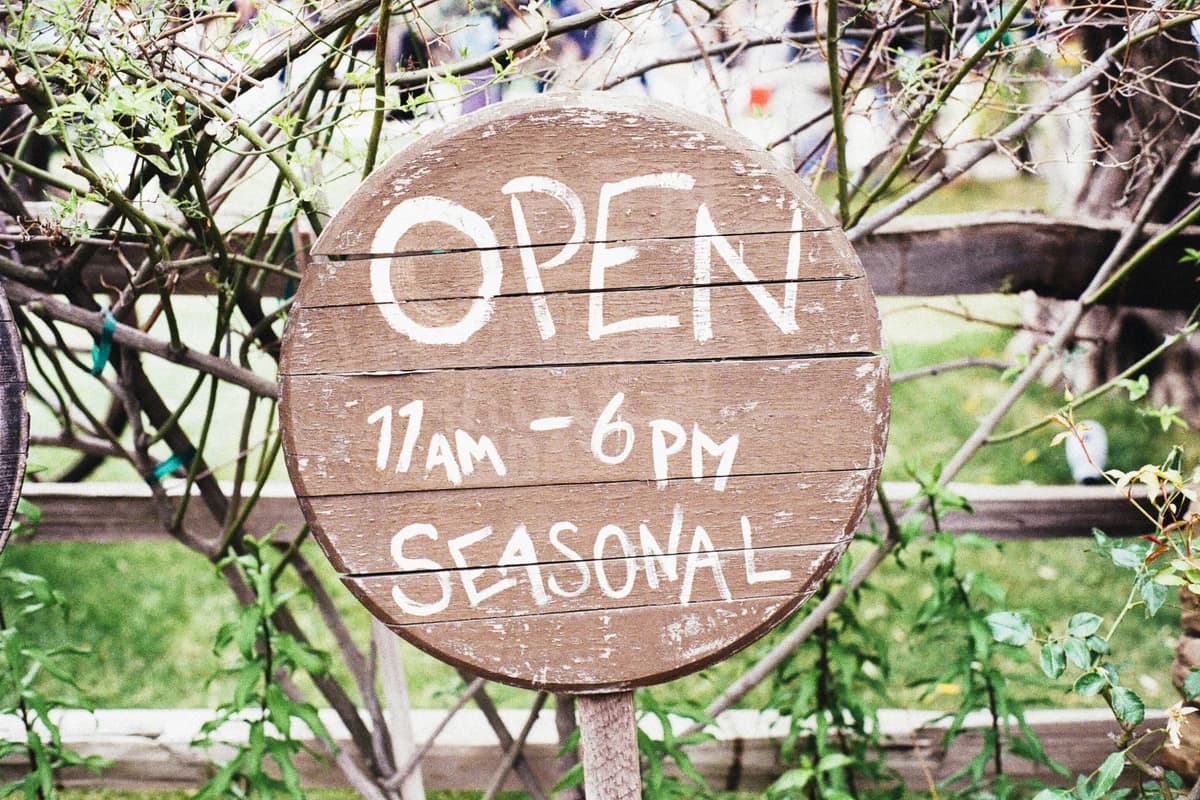 Before
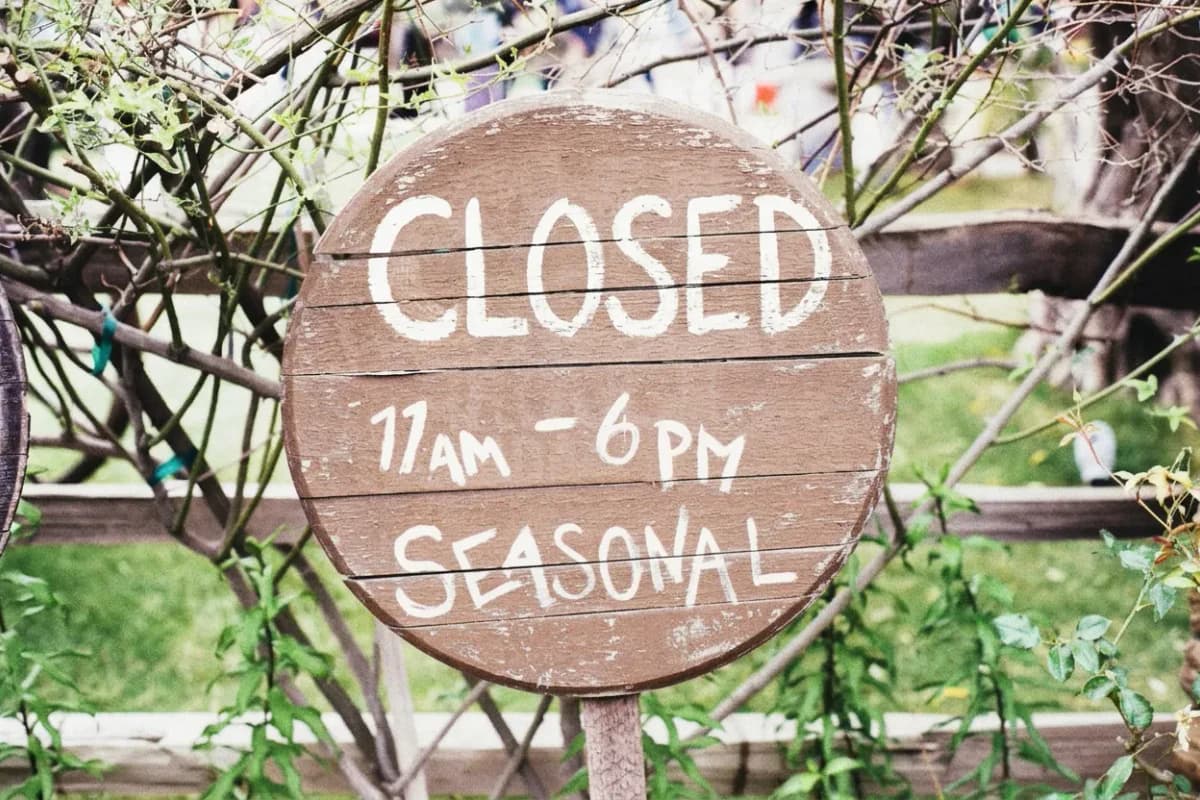 After
AfterSource: Round wooden open sign.jpg by Pixel.la Free Stock Photos · Rights: CC0 1.0 (commercial use and modification permitted)
01
Name the change before comparing tools.
AI photo editor is a broad label. A background remover, a layout canvas, a retouching suite, and a text-repair tool solve different problems.
One word is wrong
Use a region-based text editor when the image is flattened and everything except one short text area is already right.
The background must disappear
Use a dedicated subject and background tool, then inspect hair, glass, shadows, and fine edges.
You are building a new composition
Use a layout tool with editable text, shapes, and reusable design elements.
The whole image needs work
Use a full photo editor when color, perspective, retouching, compositing, and several local changes all matter.
02
Match the tool type to the control you need.
The useful comparison is not which product has more features. It is which workflow gives you the right kind of result.
| Tool type | Strong fit | Important tradeoff |
|---|---|---|
| Region-based generative editor | Contained changes inside a flattened image | The output is newly rendered pixels, not an editable text layer |
| Background tool | Separating a subject from its background | It does not replace a full layout or retouching workflow |
| Layout canvas | New posts, flyers, and graphics built from editable parts | It is less direct when text is already baked into a photo |
| Layer-based photo editor | Precise, multi-step edits and reusable source files | The workflow asks you to make more decisions by hand |
03
Check what free actually lets you finish.
Free access changes often. Read the current product screen instead of relying on an old comparison table.
- Can you upload and set up the real edit before payment or sign-in?
- Does the free result include a watermark or size limit?
- Which export formats and resolutions are available?
- What happens to the uploaded image during processing and afterward?
- Does the product require a subscription, credits, or payment only for some actions?
ImageTextEdit lets you upload, select, and prepare the replacement before signing in. Credits are used when generation starts, and the current editor shows the applicable requirement before that action.
04
Judge one representative image, not a feature page.
Use an image that contains the same texture, lettering, lighting, and edge complexity as the work you plan to do.
- 01
Keep the original
Compare the result with the source at the same zoom level.
- 02
Inspect the changed region
Check spelling, spacing, baseline, perspective, shadows, and nearby texture.
- 03
Inspect everything else
Make sure faces, products, controls, labels, and background details did not drift.
- 04
Test the real export
Download the file and check its dimensions and clarity in the place you will use it.
05
Use ImageTextEdit for one contained text repair.
The focused workflow fits a wrong price, date, number, label, typo, or short headline inside an otherwise finished image.
Upload the best source you have, select the complete text region, type the exact replacement, and inspect the result before publishing. If several elements need rebuilding or you need an editable source file, choose a layout or layer-based editor instead.