Flattened image workflow
Change one word in an image. Skip the Photoshop setup.
If the original layers are gone and one price, date, label, typo, or short headline is wrong, edit that region inside the finished image.
You can upload and set up the edit before signing in. Credits are only used when generation starts.
Real source, actual output
A public-domain price sign changed from 49 to 39 with ImageTextEdit.
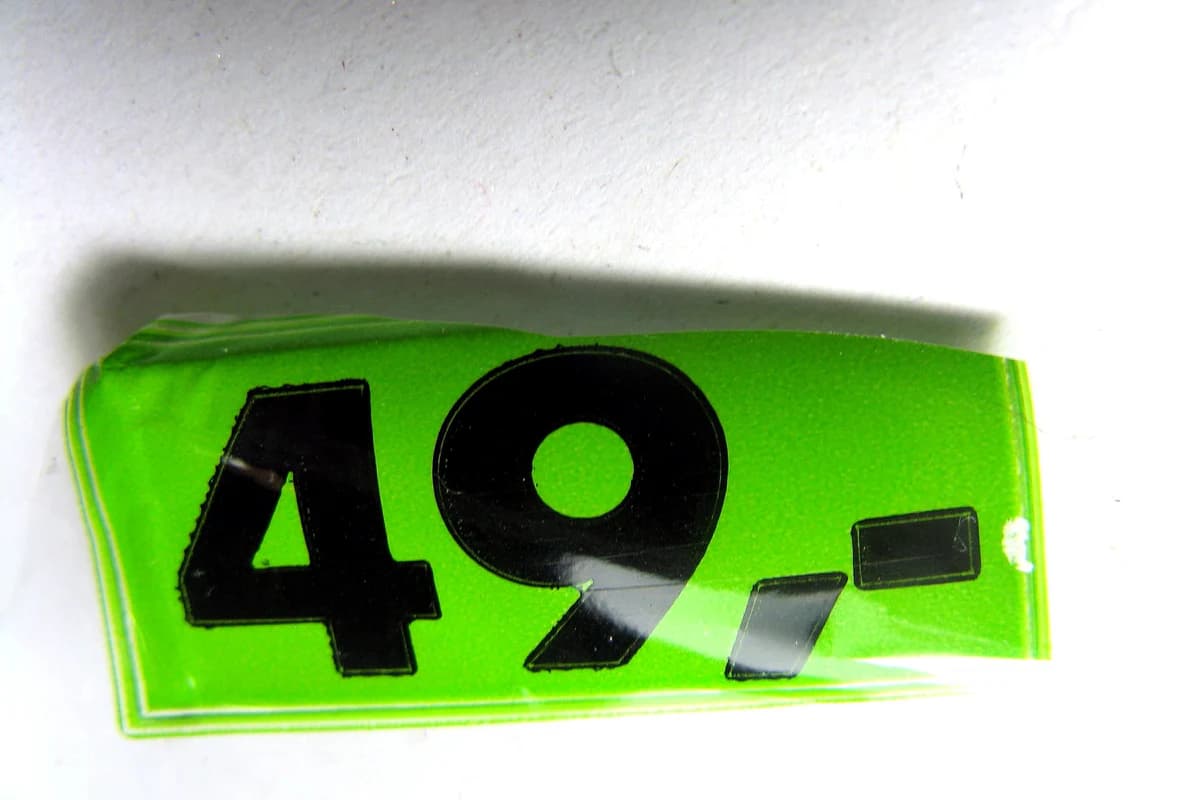 Before
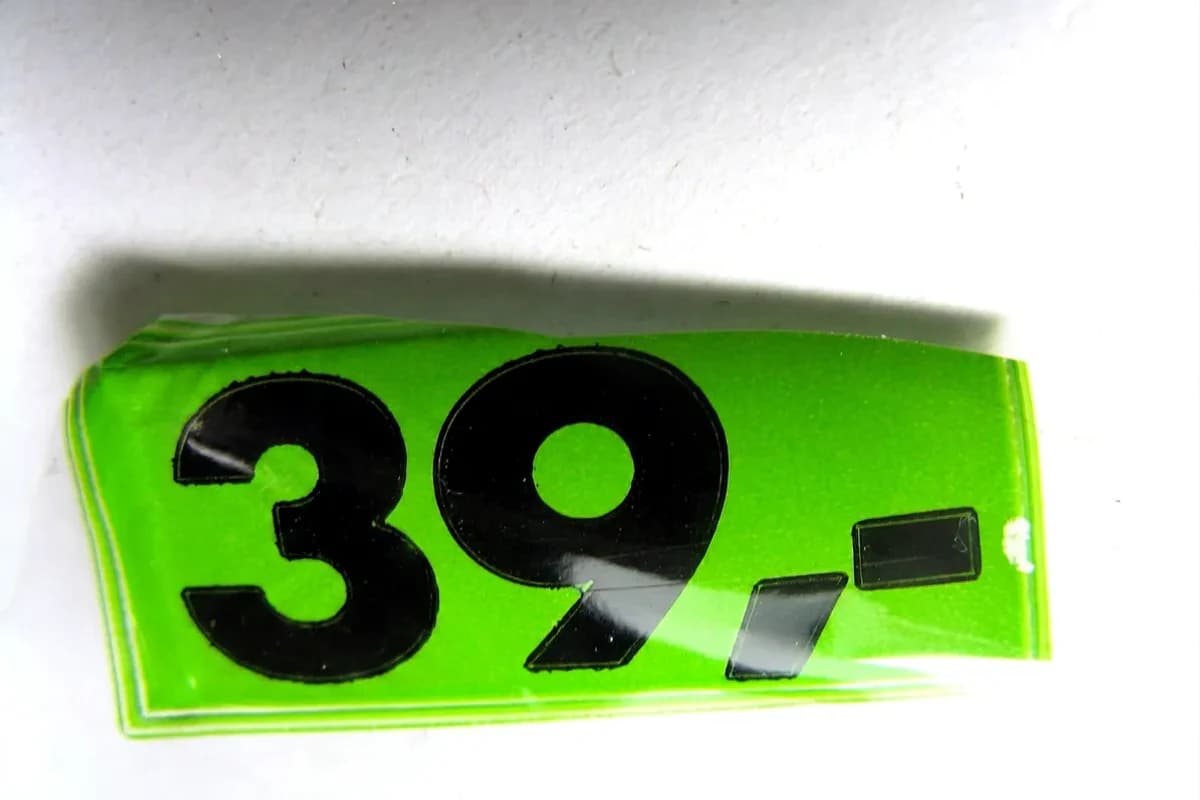 After
AfterSource: Price.jpg by Paolo Neo · Rights: Public domain (commercial use permitted by the author)
Try the verified 49 to 39 repair
Open the source with the exact selection and replacement ready. Nothing runs until you choose Generate.
Try this price example01
Start with the file you actually have.
The right workflow depends less on software preference than on whether the text still exists as an editable layer.
You have the source file
Change the live text layer in the original design tool. That gives you exact control and preserves editability.
You only have a JPG, PNG, or WebP
Use a region-based image editor when one contained text change is all the finished asset needs.
When the source layers are gone, you can change or replace text in the finished image without rebuilding the whole design.
Choose the guide that matches the file or tool in front of you: use the JPG text editing guide for a flattened JPEG, the PNG text editing guide for a flattened PNG, or the PhoText alternative guide to compare manual controls with one focused repair. If Canva is the tool you are replacing, read the Canva Grab Text alternative guide for the difference between an editable text layer and a contained raster repair.
02
Use a four-step image repair workflow.
The editor reads the surrounding pixels as style context, then rebuilds the selected text region with your replacement.
- 1
Upload the best source
Use the largest clean PNG, JPG, or WebP you have. Avoid a screenshot of a screenshot when the original is available.
- 2
Select the full text region
Draw around the letters and a narrow amount of their immediate background.
- 3
Type the exact replacement
Keep it close to the original length when possible, especially inside a fixed sign or label.
- 4
Generate, inspect, and save
Check spelling, baseline, spacing, perspective, edges, and nearby texture before downloading.
Start in the broad image text editor. It is designed for this contained finished-image repair job.
03
A clean selection protects the rest of the image.
Select enough material to rebuild the lettering naturally, but keep unrelated objects outside the edit boundary.
Tight, not clipped
Include every letter and its shadow, outline, or glow.
A little context
Leave a narrow edge of the immediate background for blending.
One region at a time
Finish and review one label before moving to another.
04
Use ImageTextEdit for speed. Use Photoshop for control.
These tools solve different versions of the problem, and the simplest correct tool is usually the best one.
05
Inspect the result before it leaves your desk.
A believable edit still needs a human check, especially on customer-facing prices, dates, and labels.
- Read every replacement letter at full size.
- Compare spacing, angle, shadows, and baseline with the source.
- Check nearby texture for smears or repeated patterns.
- Keep the original file and confirm you have permission to edit it.