AI image text repair
Fix garbled AI text without regenerating the image.
When the composition is right and one sign, title, or label is wrong, repair that region instead of rolling the dice on a full regeneration.
Upload the image, select one text region, and type the spelling you want. Credits are only used when generation starts.
Real-photo demonstration
A rights-cleared source and actual ImageTextEdit output show one-region style preservation.
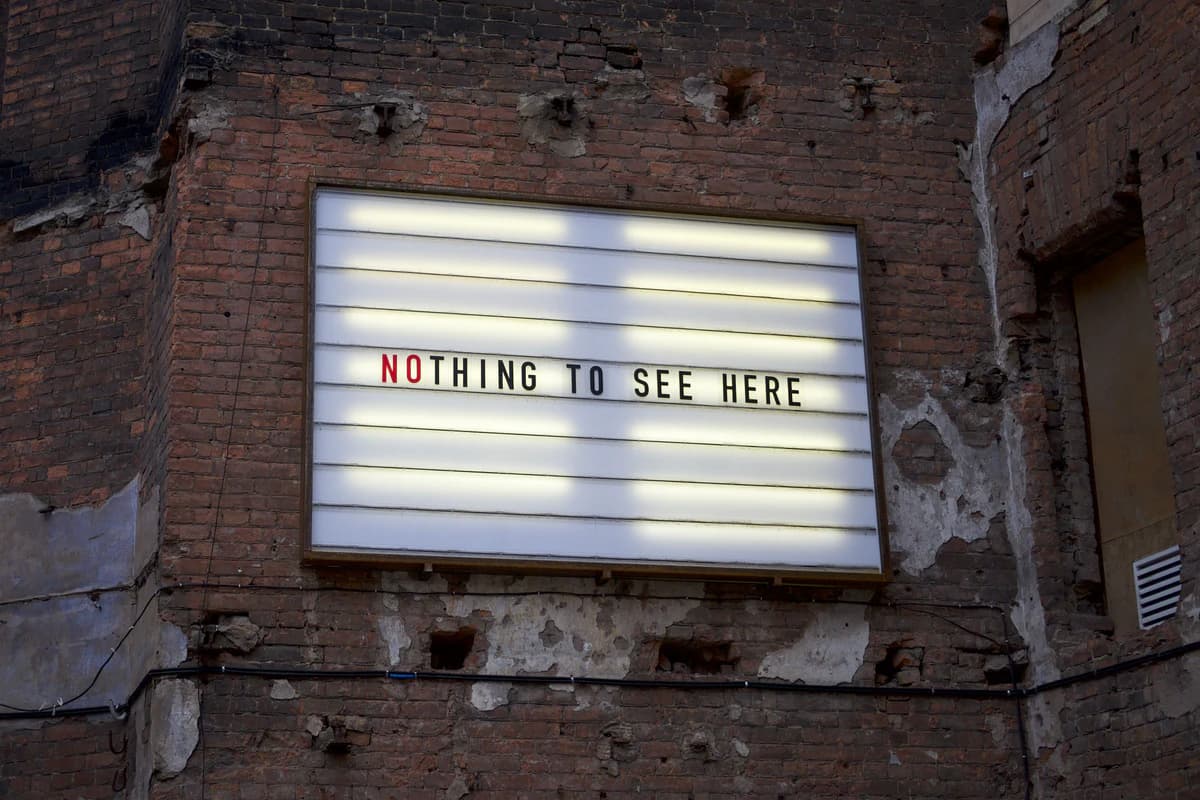 Before
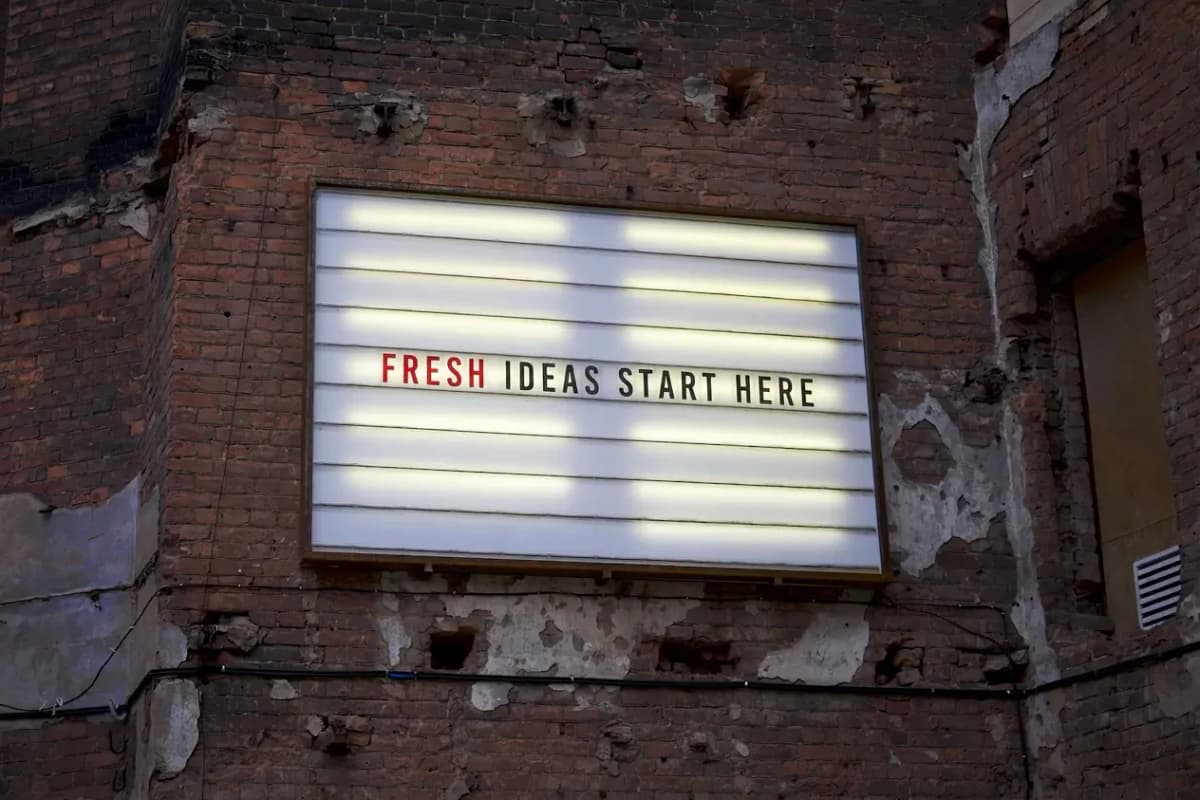 After
AfterSource: Billboard on a brick wall by Erio Noen · Rights: Pexels license (website marketing use and modification permitted)
This demonstration is a real photograph, not AI art. It shows the same contained text-repair behavior without inventing proof.
01
Keep the image when the image is already good.
A targeted repair is the efficient choice when the visual work is done and the lettering is the isolated failure.
Repair the text
- The composition, subject, and lighting already work.
- Only one or two short text regions are wrong.
- The source has enough resolution to inspect the new lettering.
Regenerate the source
- Lettering covers much of the image or every region is malformed.
- The layout, product, hands, faces, or geometry also need repair.
- The image is too small or compressed to judge the result.
02
Make one controlled repair.
The workflow is short because the existing image carries the style, texture, color, and lighting context.
Step 1
Upload
Use the highest-resolution version of the image you want to keep.
Step 2
Select
Draw around one complete text region and a small amount of nearby background.
Step 3
Replace
Type the exact spelling, label, or short phrase you want in the image.
Step 4
Review
Inspect letters, spacing, edges, perspective, and the blend before downloading.
Work from the focused AI image text editor, which keeps the page and editor promise aligned.
03
Give the model enough context, but not the whole scene.
The selection tells the editor what it is allowed to rebuild. Treat it as a boundary, not a rough suggestion.
- A single sign or label
- Include the full lettering and a narrow edge of the material behind it.
- Curved or angled text
- Cover the whole word and enough surface to read the curve or perspective.
- Several separate labels
- Repair them one at a time, reviewing and saving between each change.
- Small or soft lettering
- Upscale the source first when possible, then make a precise selection.
04
Diagnose the result before trying again.
A second attempt should change one condition, not repeat the same setup blindly.
The spelling is still wrong
Shorten the replacement and fix one word at a time.
The style drifted
Tighten the selection so more surrounding material stays untouched.
Edges look patched
Add a little more background around the letters for blending context.
Tiny letters look soft
Return to a larger source image or choose a shorter label.
05
Use text repair for your own creative assets.
Correcting a generated poster, mockup, cover, or scene is different from changing a record of what happened.
Do not use image repair to alter private messages, transactions, account records, grades, legal material, or evidence. Keep the original source when accuracy, disclosure, or approval matters.